 Did you know that a deck is considered a valuable investment for your home? According to Remodeling magazine, a deck can offer a return on investment of roughly 87 percent of the original cost. And like any investment, it pays to protect it.
Having your outdoor wood deck stained not only increases its aesthetic value, it helps protect it from the elements and prevent damage. However, a coat of stain isn’t the only thing you need to keep your deck in great shape. Regular maintenance and cleaning are essential to extending the life of your deck.
Here are a few tips for making sure you get the most out of your stained deck.
1. Keep it clean!
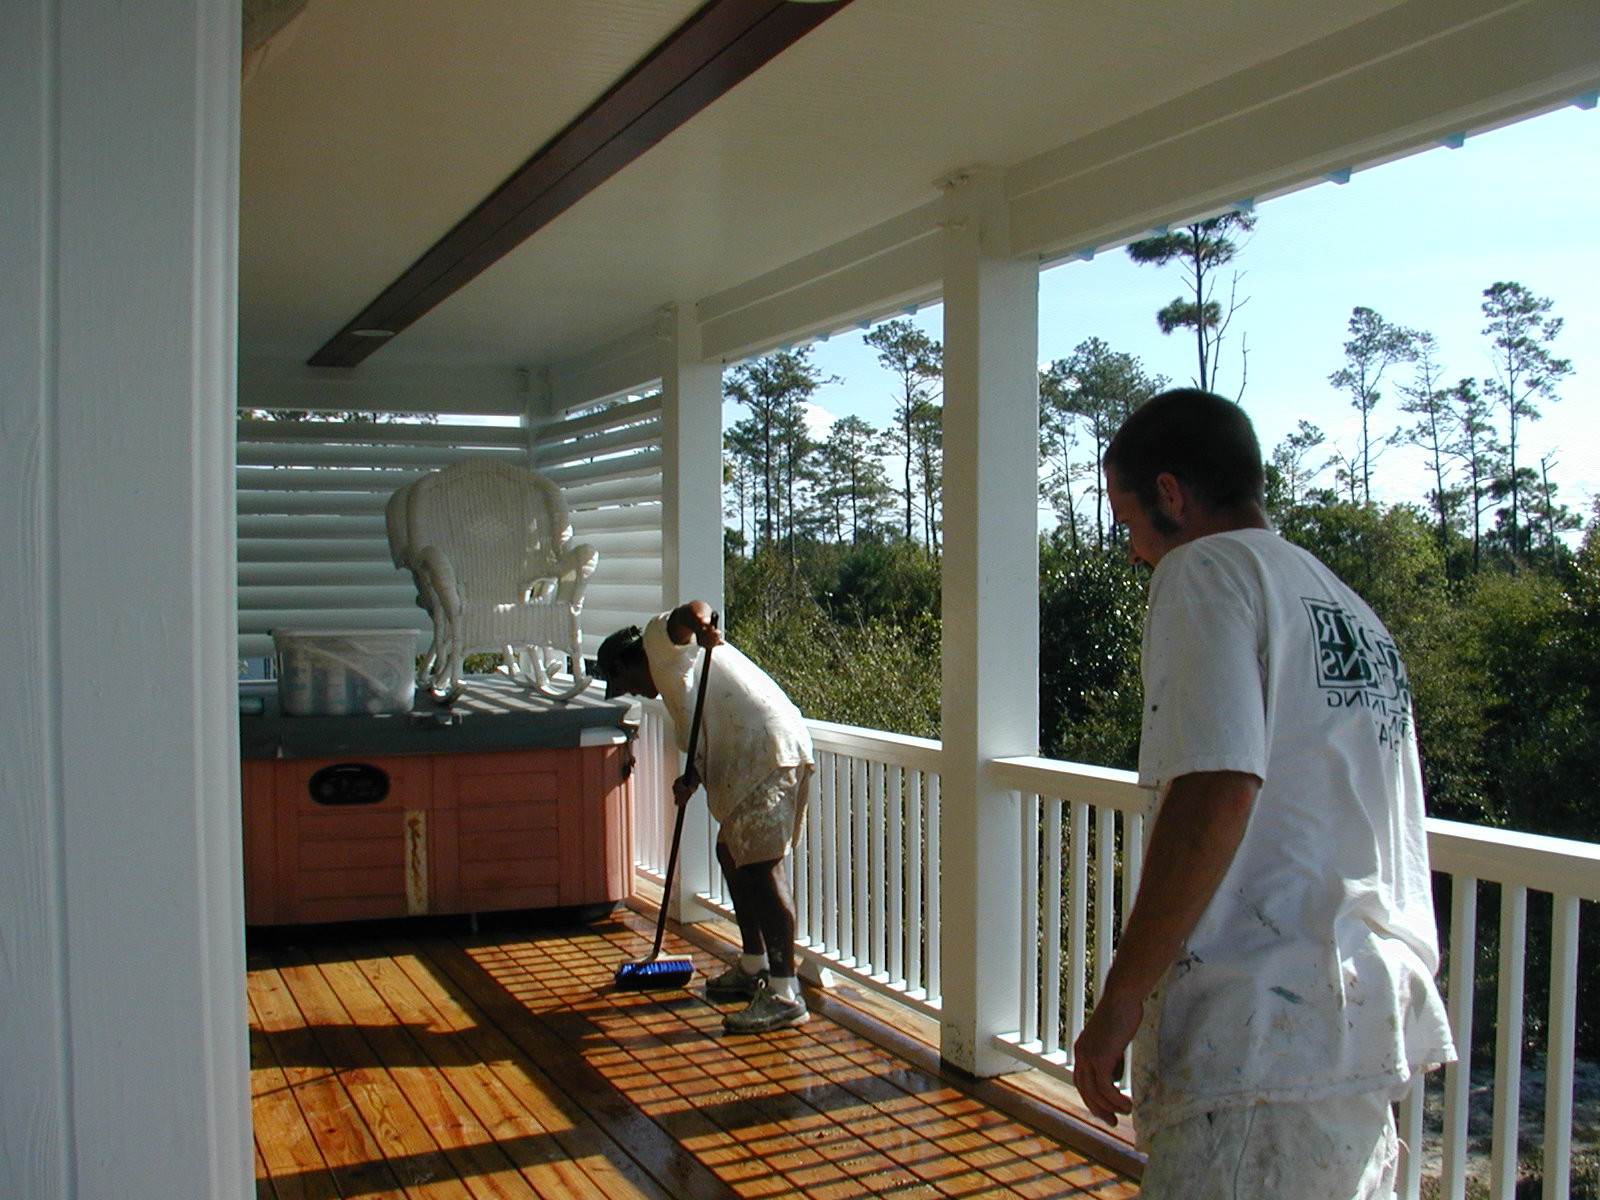
A deck that doesn’t get a good wash now and then can be subject to mildew, mold, and even rot. Your deck’s stain can do a lot of good by preventing much of these issues, but without yearly cleaning, debris can build up and wear the stain down, eventually causing unattractive spots and worse yet, costly wood rot. You can remove debris between deck boards by using a long comb or putty knife. Attach one of these items to the end of a long pole, PVC pipe or broom handle to go easy on your knees and back.
After you clear out the debris, make sure you give your deck a thorough sweeping. Finally, choose a cleaning solution that is appropriate for your deck’s material. It’s also a good idea to clean the deck on a mild weather day. Extreme heat can cause the cleaning material to evaporate more quickly. Last, but not least, rinse the deck thoroughly by running a hose across the deck several times.
You can also schedule a pressure washing service to come out and remove any mildew that may have built up over time. Professional pressure washers will know the right solution and pressure levels to use to get your deck clean without damaging the stain.
2. Perform a deck check-up.
In addition to keeping your deck looking great, it’s important to give it a once-over from time to time to make sure the structure is still holding up. Grab a flashlight and look underneath the deck to inspect the ledger. The ledger is the part that connects the deck to the home. A weak or damaged ledger can cause the deck to collapse. The ledger should be attached with lag screws, not just exterior nails. Also make sure the flashing (the material that covers the top of the ledger) is free from rust, holes or other signs of wear and tear. While you’re under there, you might as well check the rest of the hardware and ensure everything is attached properly and no screws/nails are rusted or missing.
After inspecting the deck underneath, check the railings and steps to make sure there aren’t any loose boards or missing hardware. Don’t be afraid to give the railings a good shake to test them. Also look for cracks that may have developed around the fasteners over time. If you find any, you can seal the crack with an exterior-grade adhesive after removing the fastener. To add a new fastener, drill a new pilot hole and add a new galvanized deck screw.
Check for signs of rot by gently probing areas with a flat head screwdriver. If you’re able to push the screwdriver more than a quarter of an inch into the wood, you likely have rot in that area.
3. Call a professional.
It never hurts to have your deck professionally inspected once every couple of years. And if any of the tasks above sound too complicated or time consuming, hiring a pro can be a great way to save you from the headaches of doing everything yourself. At Colour Solutions, we offer a wide variety of home improvement services, including deck staining and refinishing as well as some light carpentry. Call 910-686-3067 today to set up a consultation.